Before you start it's definitely a good idea of getting all the stuff you need and keep it right in front of you.
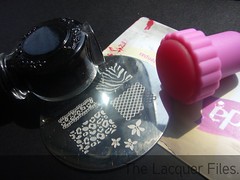
As you can see I'm using black konad stamping polish for this, but you can also use your good pigmented regular polish. I'm not using the konad metal scraped because that can cause a damaged plate, instead I use an old plastic card. The leopard design is found on konad plate M57 and last but not least, you'll need a stamp. The picture next to it shows the polishes I'm using to colour in the spots: Color Club Almost Famous, Essie Pretty Edgy, Zoya Robyn and Ciaté Main Stage.
 Before anything potentially dangerous happens we're just starting with the known routine. Use your base coat and pick out a nice base colour. I'm using H&M's Love at First Sight, a white creme that gives good coverage.
After that you can relax. Let the polish dry completely. If you don't you'll press the polish aside when using konad and this will create some messy nails. You can also use a quick dry top coat if you haven't got the patience for this. :o)
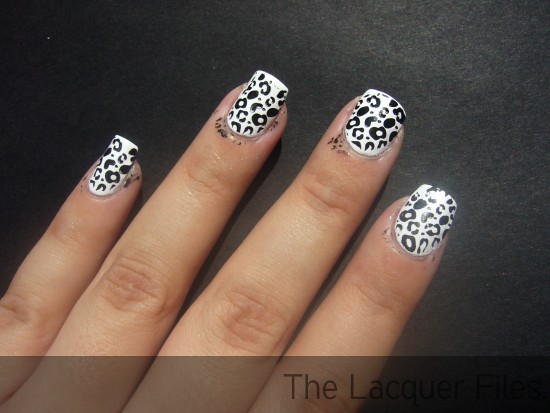
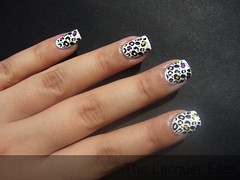
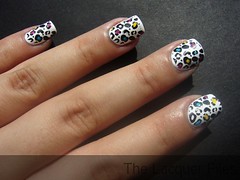
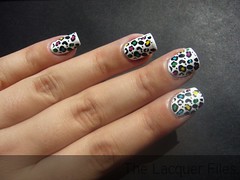
After that it's time to get out your konad stuff! As you can see in Michèle's tutorial, it really isn't that hard. It might take a little bit of practice but you'll get the feeling quickly enough. I always clean the plate and stamp for using it with a cotton pad and polish remover. So, we're starting. Put a little bit of the polish you're using on the design (you don't have to fill up the entire design unless you want to do that) and scrape the polish over the entire design. Make sure every tiny bit of the design is covered! Pick up the polish with the stamp and make a circular motion over your nail. This is quite hard to do for some so if it doesn't work out the first time, don't be disappointed! You have to experiment with this. It could be your pressing too hard on the plate, or too soft, or you're using the wrong polish. Once you've done one nail, you can start with the others. I always clean my plate and stamp after doing one nail, also with a cotton pad and polish remover. If you're scared of ruining your manicure you can use tweezers to grab the cotton pad. The result:
The design was too big for my nails and I stamped over my cuticles and fingers. This isn't awful, you can remove this when doing the last clean up. Since I'm really picky and I hate messy fingers I always do a clean up after stamping - but this is really your call. It's definitely not necessary.
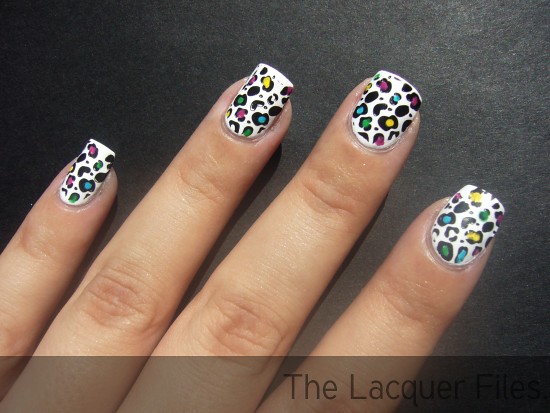
Done with the konad? Then we're going to colour the spots! You can use a striper for this but I'm using a pointy brush that I picked up in a dollar store. Brushes for this don't have to be expensive!
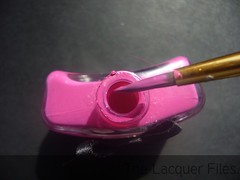
I'm also picking up the polish right from the bottle. You might not want to do that so you can also use a piece of paper or a bowl where you can pick up the polish. Use the tip of the brush to colour the spots and be gentle, you don't want to have a huuuuuge blob of polish there.
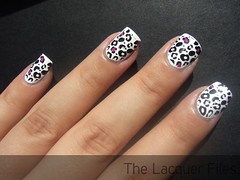
The pictures below show you the process of creating these coloured spots. I'm always using the same brush but after using one colour I rinse and clean it with acetone remover. You can click these, and all other pictures in this post, for an enlargement.
For the finishing touch, use top coat. You can use the konad top coat so that the stamping polish won't smudge but I don't own it so I'm using my trustworthy Nubar Diamont. If you're not using the konad top coat be careful! You want to apply it in a floating way so the brush doesn't touch your nail. Voila! Finished!
Hope this was helpful! Have a nice day!


