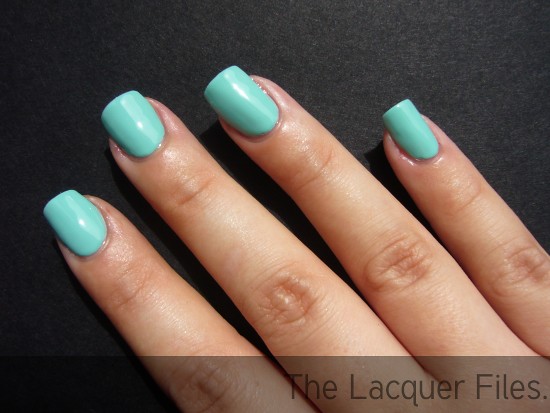
First you make sure your nails are clean. After that the basic steps follow: a base coat and a base colour. I choose China Glaze For Audrey as my base colour.
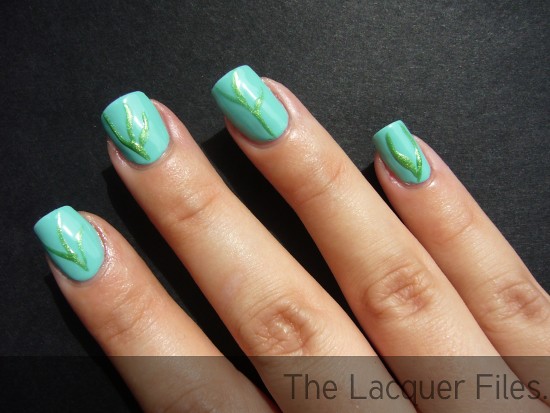
When that is done, you want to create the flower stalks. I used a striper for this but it can also be done using a thin paintbrush.
There are lots of stripers out there. You've got the long stripers, the thick ones, thin ones, short ones and a mix of these. I prefer the long, thin stripers. For me those are the easiest to create thin stripes with.
When using the striper, be careful there isn't a lot of polish on it. If so, a big blob of polish will fall off and ruin the manicure or you'll get uneven, thick stripes. Flower stalks aren't completely straight: if you can't create a perfect, neat line that's okay!
Done! See how simple it really is? Now it's time to add the flowers!
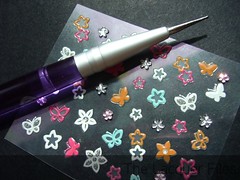
Flowers can be created many ways. You can use a dotting tool, a paintbrush, a toothpick, konad, rhinestones and more. I've used simple ones: Essence nail art stickers. I've picked these up in the local drugstore but I'm sure there are lots of different flower stickers available.
I use a stick to pick up the stickers so the sticky side stays sticky. My stick is made from metal but you can also use a toothpick or rosewood stick, whatever comes in handy. With this stick you place the stickers easily on your nail, just gently lay it on your nail and press it on your nail by turning the stick and pulling it off the sticker - also gently! After that you can seal it with a top coat so the stickers last longer.
The result. Now I never want to hear anyone say that nail art is hard! ;)


